QR Code Generator with Frames, Borders & CTA Labels for Print
Create QR codes with colorful frames, borders, and call-to-action labels for menus, posters, flyers, packaging, business cards, and marketing campaigns. Export scan-safe print designs.
Free QR code generator
Create a QR code online
Generate QR codes for websites, email, phone numbers, vCards, Wi-Fi, plain text, forms, PDF files, and campaign links. Customize colors, add a logo or frame, then download a print-ready PNG or SVG.
Choose QR code type
Website QR code, Email QR code, Phone QR code, vCard QR code, Wi-Fi QR code, Text QR code, SMS, WhatsApp, event, and download links.
Add your content
Enter your website URL, contact details, message, phone number, location, or file destination before generating the QR code.
Customize and download
Adjust QR colors, error correction, logo, frame, size, and margin. Generate QR Code, Download PNG, Download SVG, or Save and track scans.
CTA frame design
Use a QR code frame when people need a clear reason to scan
A QR code frame adds a visible container, border, or label around the QR pattern so the scan action is easier to understand. It is useful for menus, posters, flyers, product packaging, business cards, signage, campaign materials, event handouts, table tents, and retail displays where a plain square may be ignored. The frame gives the QR code a job in the layout: it points attention and explains the next step.
The frame should make the action obvious: scan menu, get coupon, watch video, register, download file, leave review, open map, join Wi-Fi, or book now. It should not squeeze the QR pattern, cover the quiet zone, or create low contrast that makes scanning less reliable. A frame is not a license to crowd the code; it is a way to make the scan opportunity easier to see.
This is different from border-only decoration or a fixed template page. The goal is practical CTA framing: enough visual emphasis to invite the scan, while keeping the code readable in real print conditions.
Frame readability
Design QR frames that make the CTA clear and the scan reliable
Frame designA QR frame should give people a reason to scan while keeping the code readable in the final print or digital placement.
Add a frame and CTA without shrinking the code
Risk
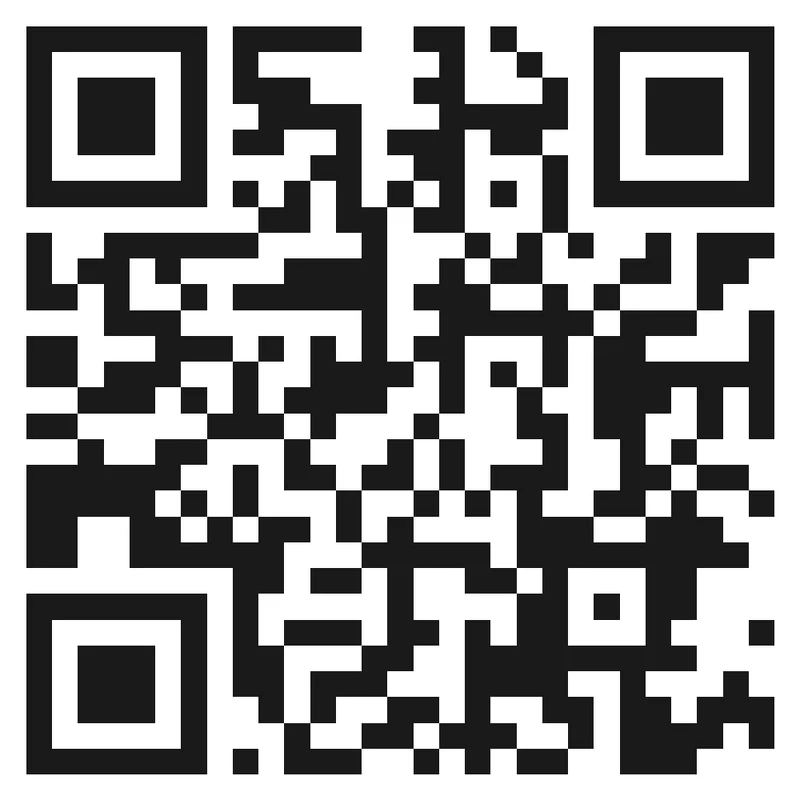
A decorative frame can make the code look branded but still fail if it crowds the quiet zone or makes the scan target too small.
Better
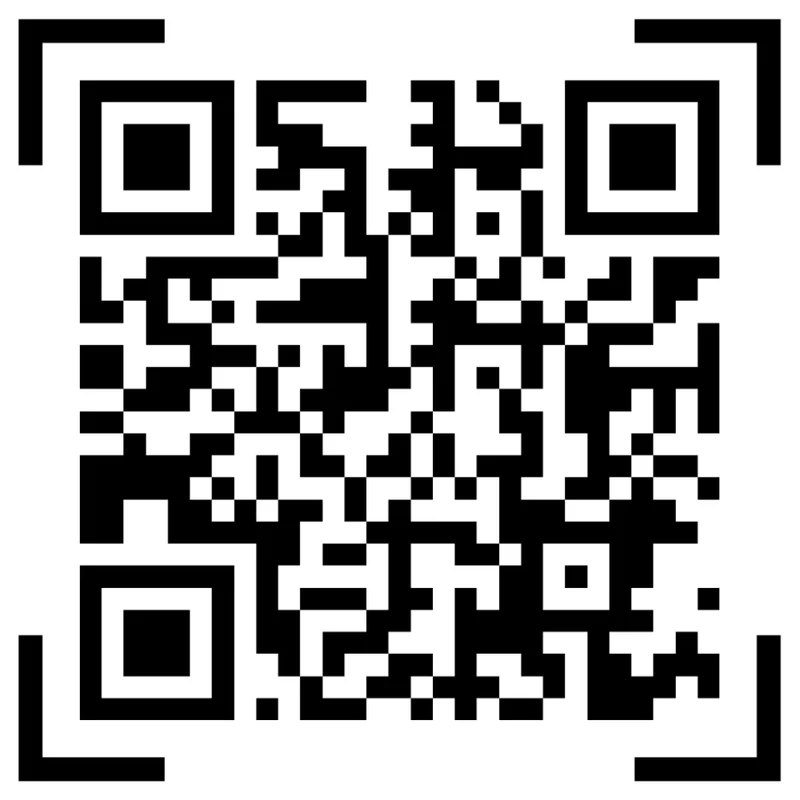
Use the frame for CTA and brand context while the QR pattern stays clean, high contrast, and easy to scan at the intended size.
Match frame style to distance and material
Mockup
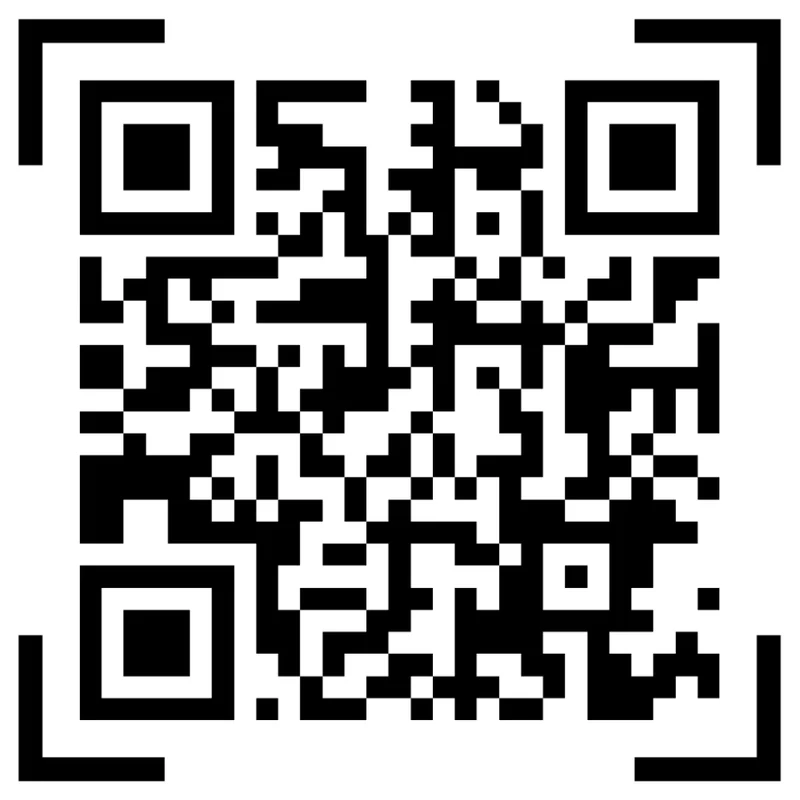
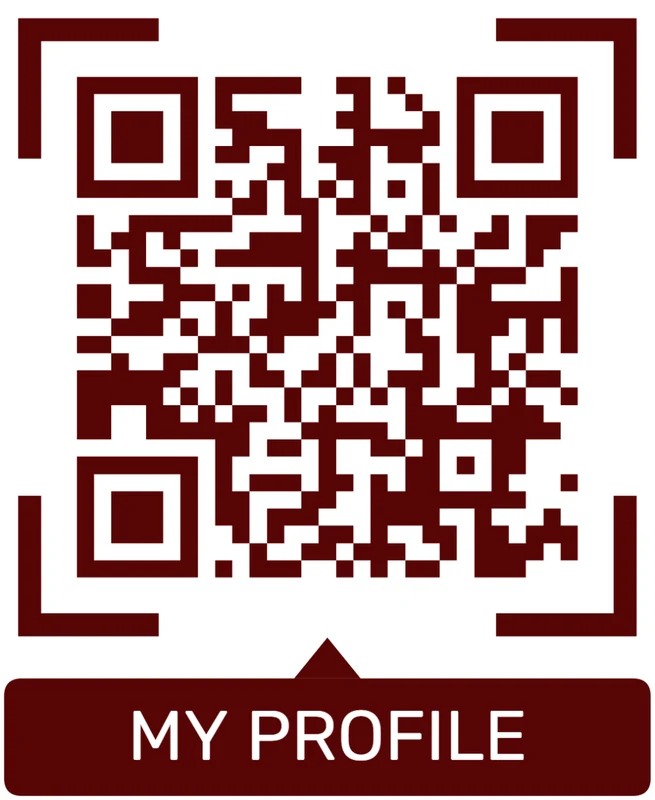
A frame that works on a large poster may be too detailed for a small label, receipt, card, or packaging insert.
Proofed
Adjust frame weight, CTA size, and code size for the final material and scan distance.
Customize corners and modules
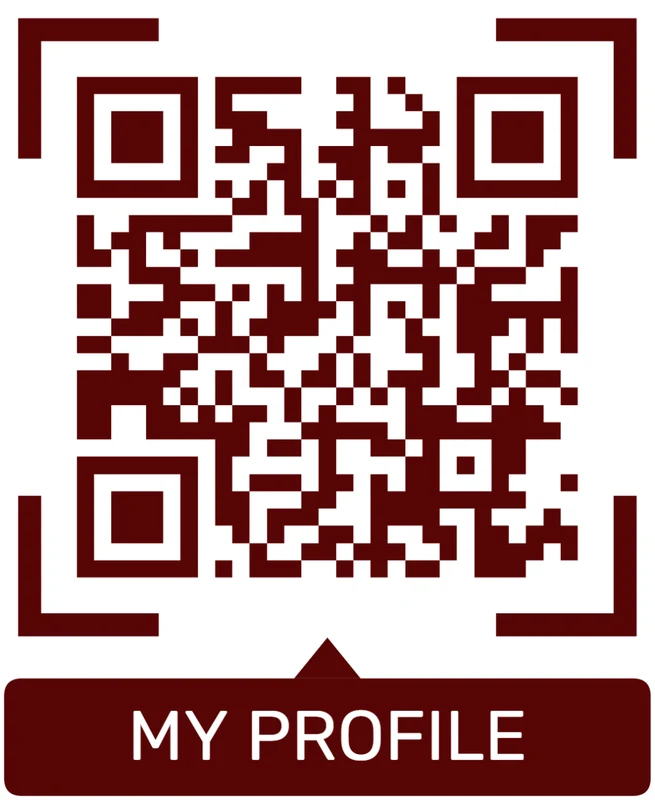
Standard pattern
A colored framed code already looks better, but it can still look like every other QR code.
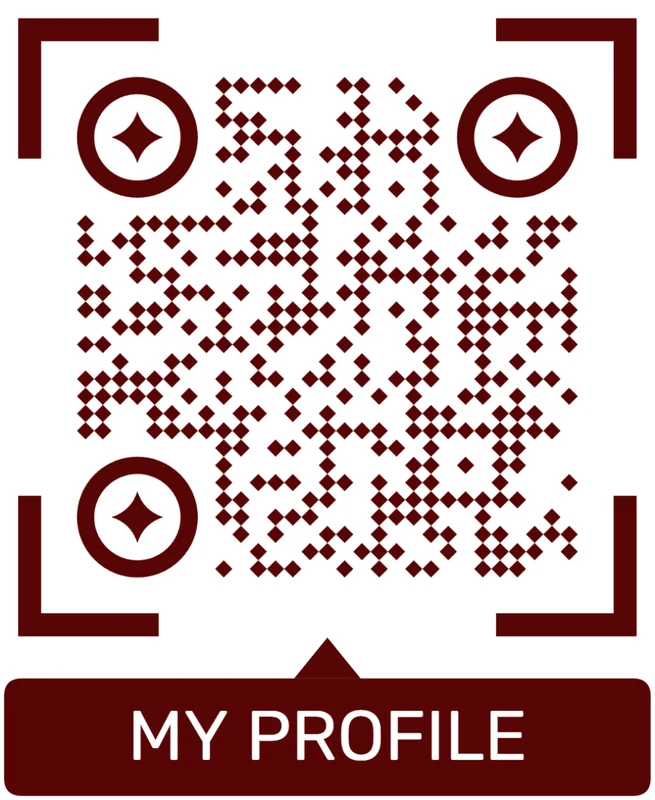
Custom eyes and module shape
Rounded modules, styled finder corners, and cleaner patterns can make the code feel premium. Keep the three corner markers clear.
Add a logo carefully
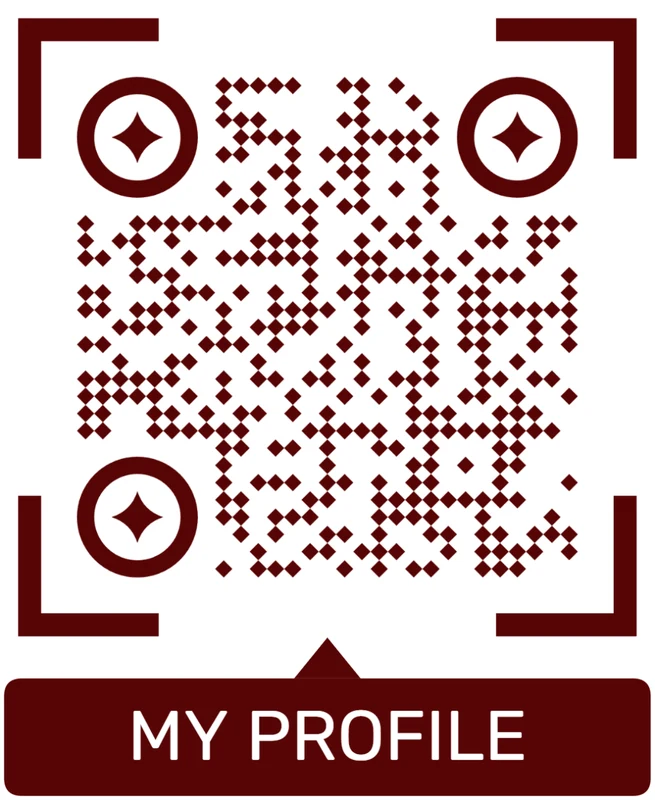
Styled QR code
A styled code can look polished, but people may still not know what brand, profile, file, or campaign it represents.
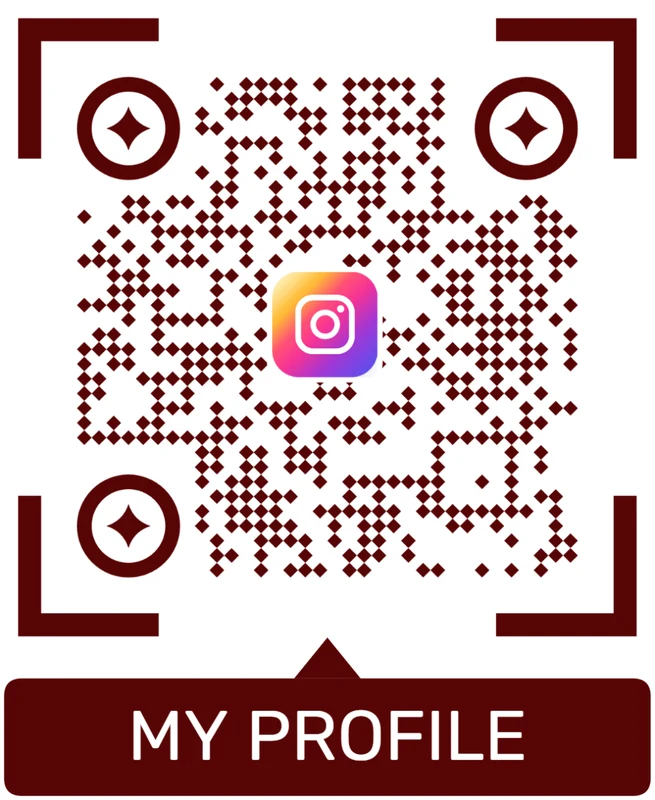
Logo QR code
A centered logo helps signal the destination. Keep it small, use a clean background behind it, and test the exported code.
The frame should make the scan feel intentional
A good frame explains the scan and protects the pattern at the same time.
Frame print proof
Proof framed QR codes before they go into the real layout
Print readyFramed QR codes should be tested as finished artwork, including CTA, frame, size, material, lighting, distance, and the destination after the scan.
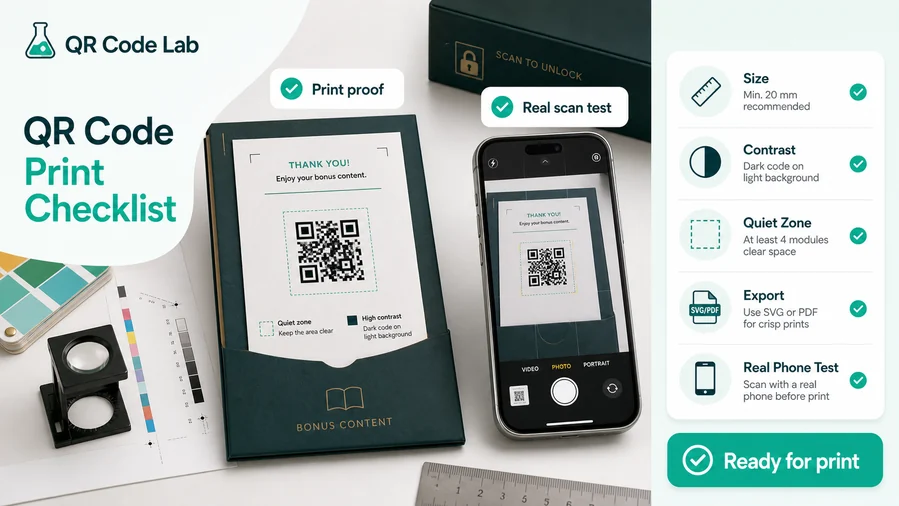
Scan the framed code from the expected distance
A framed QR on a card, label, poster, table tent, or package should scan quickly without requiring a perfect angle or close-up positioning.
Keep the quiet zone clear from borders, frames, photos, folds, dielines, decorative shapes, and nearby text.
Use export formats that keep the QR pattern sharp
Use SVG or PDF for professional print layouts so the QR modules stay crisp after scaling and placement in design software.
Test contrast on the final material, especially when using brand colors, glossy finish, textured stock, small stickers, dark backgrounds, or laminated surfaces.
Make the framed CTA match the first mobile screen
The CTA inside or near the frame should be repeated by the destination so scanners immediately know they landed in the right place.
Use dynamic QR when the printed material may outlive the first URL, PDF, form, menu, event, offer, or landing page.
Business card
Use a frame or border to separate the code, then test the small printed size before handing cards out.
Poster or flyer
Make the CTA readable from the viewing distance and keep the framed code large enough for pass-by scanning.
Sticker or label
Check small size, surface curve, glare, adhesive placement, and whether the frame crowds the quiet zone.
Menu or table tent
Use a clear scan prompt and test under real lighting, handling, and protective sleeves.
Approve frames only after the CTA, artwork, and destination agree
The proof should confirm that the visual treatment improves clarity without weakening the scan.
Frame placement
Place framed QR codes where the CTA can drive action
PlacementA framed QR works best where people can read the CTA, understand the value, and scan without fighting distance, glare, or clutter.
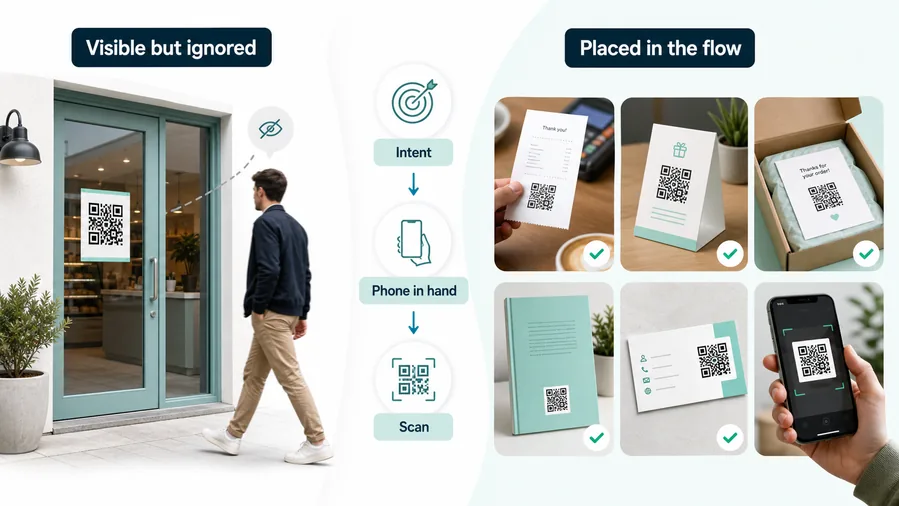
A frame without context is still just decoration
A frame can attract attention, but the surrounding message still has to explain what the scan opens.
Placement should be judged by the scanner moment: what they just saw, what they need next, and whether the phone is naturally available.
Use frames where CTA clarity can lift scans
A frame helps when the CTA sits close to the code and tells people exactly what they get after scanning.
The design should make the action easier to understand before the scan begins.
What is around the QR code?
Photos, product copy, menu items, event details, offer text, dielines, logos, barcodes, or blank space.
What should the CTA say?
Open menu, get guide, save contact, claim offer, view portfolio, register, reorder, get support, or scan for details.
How far away is the scanner?
Handheld cards and labels can use tighter layouts; posters, signs, and windows need larger codes and clearer prompts.
Will the same layout repeat?
Use templates when many materials need consistent framing, and create variants when placements differ too much.
Business card
Use a clean frame or border with save contact, view portfolio, book, or open profile copy.
Product label
Separate the QR from package artwork and name setup, warranty, care, reorder, or support.
Poster or flyer
Make the framed CTA readable before people walk past and size the code for the viewing distance.
Menu or table tent
Use clear scan prompts for menu, order, pay, Wi-Fi, booking, specials, or feedback.
Event badge or sign
Frame QR codes for agenda, map, check-in, slides, community, registration, or follow-up.
Sticker
Keep the frame compact and test the applied surface for glare, curve, abrasion, and quiet zone.
Presentation slide
Use a bold frame and short CTA so viewers understand the destination from a distance.
Packaging insert
Use framed CTAs for setup, manual, bonus files, review, warranty, or customer support.
Use frames where the CTA makes the scan more obvious
The placement should make the visual treatment feel useful, not ornamental.
Readable CTA
Treat the frame as instruction, not decoration
Use framed QR codes when the surrounding design is busy or when the QR code competes with photos, menus, labels, logos, or event artwork. A frame can pull attention to the code and tell people what they will get after scanning. That matters because many people will not scan a code unless the value is obvious before the phone comes out.
Keep the frame outside the quiet zone, use strong contrast, avoid overly tiny labels, and test at final print size. Small cards need short wording. Posters need a CTA that can be read from a real distance. Packaging needs enough separation from photos, product text, and folds. If the frame becomes more important than the code itself, simplify it.
For campaigns and printed materials that may change, combine the framed design with a dynamic QR code so the same printed asset can keep working after links, offers, menus, or event pages change. That keeps the frame useful even when the destination behind it needs an update, correction, or seasonal switch.
Border and CTA flow
Choose a simple border for separation, or a CTA frame when people need to know why to scan
A border is enough when the surrounding design already explains the action and the QR code only needs a clean container. A full CTA frame is better when the user needs a prompt such as scan for menu, view offer, download guide, open map, register warranty, or watch setup. In both cases, the border should not touch the QR modules, crowd the quiet zone, or shrink the code too much. The scanner needs clean space around the data pattern.
Use borders on product labels, table cards, shelf tags, posters, flyers, packaging inserts, business cards, receipts, and window signs where the QR code risks blending into the layout. Keep border weight consistent with the design system and avoid making the border so heavy that the QR looks cramped. A border should frame the code, not compete with it.
Before printing, test the bordered QR at final size on the real background color. Check that the quiet zone remains clean, the contrast is strong, and the CTA is readable from the expected distance. This matters most when the border sits on a photo, gradient, textured label, dark menu, or colorful package.
Dynamic QR codes can protect the destination after printing, but they cannot fix a code that fails visually. Good borders help the user notice the scan opportunity and help the scanner read it. If the border makes the code feel polished and easier to find, it is doing its job.
Separate the QR code from busy artwork
A QR code dropped onto photos, patterns, or dense copy can blend into the layout even when the code itself is technically valid.
Use the border to create visual separation, then keep a clean quiet zone between the border treatment and the readable QR pattern.
Choose border weight for the real material
A border that looks balanced on screen may disappear on textured stock or feel too heavy on a tiny sticker.
Print the final size, check the surface, and scan from the real distance before approving the border style.

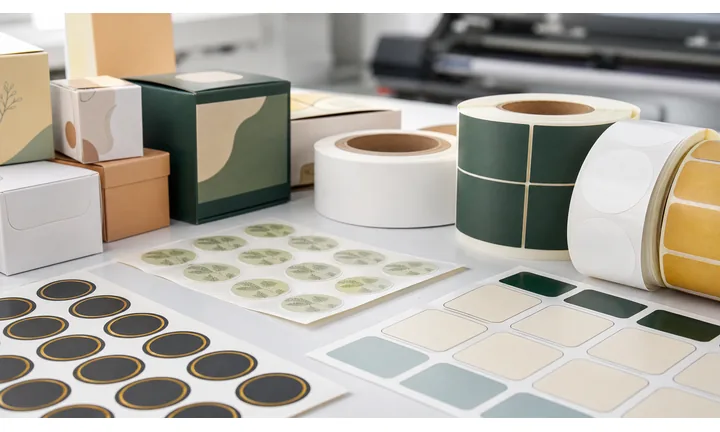

Template and placement flow
Match the QR frame text to the physical moment and the destination behind the scan
This page is template and inspiration intent. It is different from a single frame generator page because the question is not only “can I add a frame?” but “which frame matches this use case?” A menu card may need “Scan for menu.” A package insert may need “Watch setup.” A shelf tag may need “See details.” A wedding card may need “View details.” The frame should explain the value of the scan in a few words.
Useful frame templates include menu prompts, review prompts, booking prompts, coupon prompts, product-detail prompts, download prompts, map prompts, Wi-Fi prompts, support prompts, warranty prompts, and event-registration prompts. The best CTA is specific: “Scan for menu” is better than “Scan me” on a table tent, while “Open setup video” is better on product packaging. The frame should reduce uncertainty before the phone comes out.
For print, test each template against the final format: label, card, poster, flyer, package, receipt, book page, or sign. Small formats need shorter CTAs and more disciplined spacing. Large formats need readable text from a real distance. If the same template is used across many materials, make sure it still leaves enough room for the QR code itself.
Dynamic QR codes help when the destination changes, but the frame still needs to match the promise. QR Code Lab manages the QR and destination; the template designer owns layout quality and print checks. If the same frame is reused, keep a short checklist so later designs do not slowly lose scan-safe spacing.
Reserve the QR area before adding template text
A template that lets long CTAs, logos, or campaign names push into the QR area can create inconsistent, fragile exports.
Lock the QR zone and CTA area so every exported template remains readable even when campaign copy or labels change.
Test the filled template, not the empty design
An empty template preview can look clean, then fail when real URLs, labels, languages, or campaign names are inserted.
Proof the longest, busiest, smallest real template version so the repeated exports stay safe.
Prompt and print flow
Use Scan Me for simple prompts, and use specific wording when the destination needs context
The words matter. “Scan Me” is simple and familiar, but it is not always the strongest CTA. If the destination is clear, a more specific phrase can perform better: scan for menu, scan for coupon, scan for map, scan for setup video, scan for RSVP, or scan for reviews. A frame should reduce hesitation by telling the user what happens after scanning, while still leaving enough visual space for the code itself.
A good frame protects the quiet zone, keeps the QR code large enough, and places the CTA where people notice it before scanning. Avoid squeezing the frame into the QR modules or placing text so close that the code loses clean whitespace. Strong contrast matters: a pale CTA on a busy background may look stylish but fail to invite action in real conditions.
Use Scan Me for broad, familiar placements where the destination is obvious from nearby text. Use a specific CTA for print materials where the benefit is not obvious: view menu, open directions, claim offer, download guide, upload photos, or book appointment. Specific wording is often more helpful because it answers the small question in the scanner’s mind: why should I scan this?
Test the framed QR at final size and from real distance. Dynamic QR codes can change the destination later, but the printed frame still promises a specific user experience. If the frame says menu, coupon, or booking, keep the destination aligned with that promise.
Use the frame to separate the code from the layout
A plain QR code can disappear on a busy flyer, menu, package, poster, or card, especially when the surrounding design has many competing elements.
A Scan Me frame gives the code a clear edge and a visible prompt while preserving the quiet zone around the readable pattern.
Keep the frame from becoming the whole message
Scan Me alone asks for action but does not explain whether the person will open a menu, coupon, profile, file, booking page, or support path.
Combine the frame with short nearby copy that names the benefit, then test the finished design at the intended print size.